Pressed Steel Water Tank Erection and Installation
- HST Engineering Team
- Apr 18, 2023
- 4 min read

In this blog, we will take a closer look at the steps involved in the erection and installation of a pressed steel water tank. We will provide a comprehensive overview of the process, highlighting the key considerations and factors that must be taken into account to ensure that the tank is safe, functional, and long-lasting.
Step 1: Site Preparation
The first step in the installation process is site preparation. This involves ensuring that the site where the tank will be installed is level, compacted, and free from any debris or obstructions. A solid and stable base is essential to support the weight of the tank, water, and any additional equipment that may be installed. In many cases, a concrete base is recommended to provide a sturdy foundation for the tank.
The ground where the tank will be installed should also be able to support the weight of the tank and water. It is essential to consider the load-bearing capacity of the ground, as well as the impact of the water weight on the surrounding area.
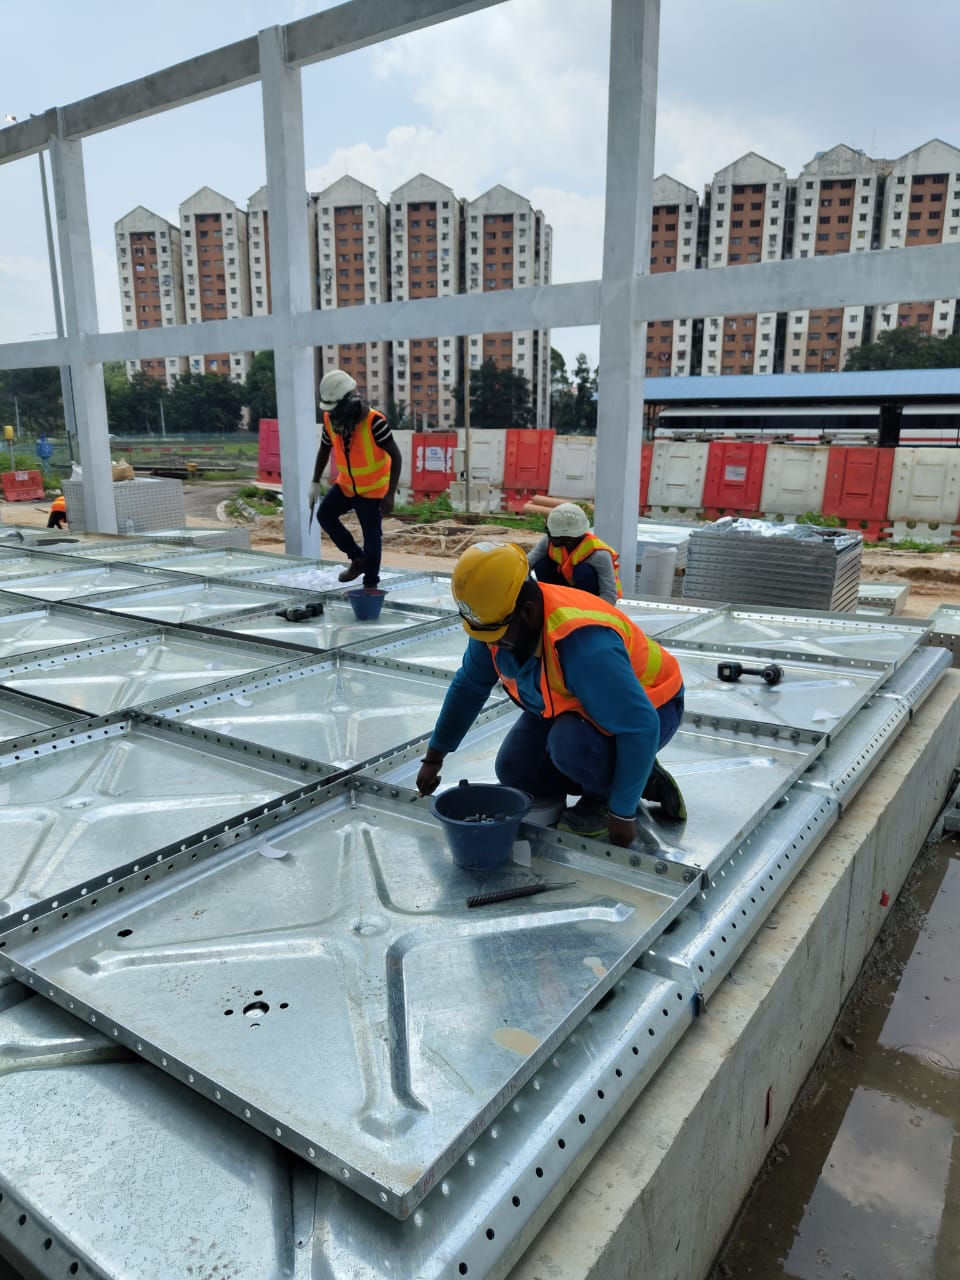
Step 2: Tank Assembly
Once the site is prepared, the next step is tank assembly. The tank panels are assembled according to the manufacturer's instructions, using the appropriate nuts and bolts to secure the panels together. It is important to ensure that the panels are properly aligned and square to each other, as this will affect the overall stability and integrity of the tank.
During the assembly process, care must be taken to avoid damaging the panels or the surrounding area. The panels must be handled carefully, and any tools or equipment used must be appropriate for the task at hand.
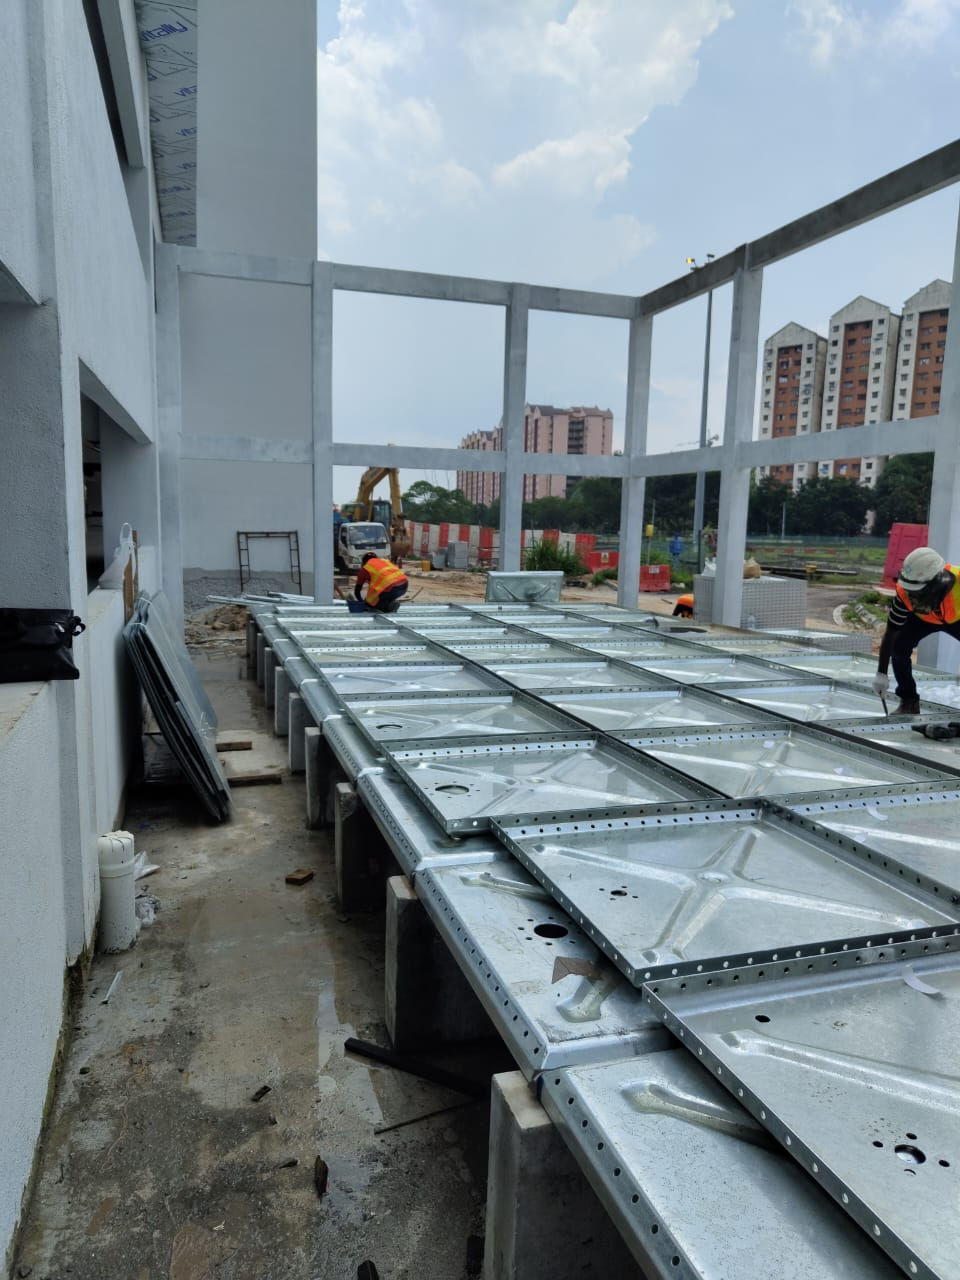
Step 3: Tank Erection
After the tank panels are assembled, they can be lifted using a crane or hoist and positioned on the base. The panels should be connected together with bolts and nuts. Care must be taken during this process to avoid damaging the panels or the surrounding area.
The tank erection process should continue until the tank is fully erected. During this process, it is important to ensure that the tank is level and stable. Any issues with stability or alignment should be addressed promptly to avoid compromising the safety and functionality of the tank.
Step 4: Roof Installation
Once the tank is fully erected, the roof panels can be installed and secured with bolts and nuts. The roof panels will provide protection for the tank and its contents from weather and other external factors.
It is important to ensure that the roof panels are properly installed and sealed to prevent water from entering the tank from above. Any gaps or leaks in the roof panels can compromise the integrity of the tank and lead to issues with water quality and safety.
Step 5: Inlet and Outlet Installation
The inlet and outlet pipes should be installed and connected to the water supply and distribution system. It is important to ensure that the pipes are properly sealed and supported to avoid leaks or damage. The pipes must also be properly sized and positioned to ensure that water can flow in and out of the tank efficiently.
During the installation process, care must be taken to ensure that the pipes are properly aligned and secured. Any issues with the pipes can lead to leaks, blockages, or other issues that can compromise the safety and functionality of the tank.
Step 6: Tank Coating
To protect against corrosion, a suitable coating should be applied to the interior and exterior of the tank. This will extend the life of the tank and prevent damage to the water supply.
The type of coating used will depend on the specific requirements of the tank and the environment in which it will be installed. Factors such as temperature, humidity, and water quality must be taken into account when selecting a coating.
Step 7: Testing
After the tank is fully installed and coated, a leak test should be conducted to ensure that the tank is properly sealed and there are no leaks. This is an important step in the installation process, as leaks can compromise the safety and functionality of the tank, leading to issues with water quality and contamination.
During the leak test, the tank is filled with water and the pressure is monitored to ensure that it remains constant. Any drop in pressure can indicate the presence of a leak. If a leak is detected, it must be addressed promptly to avoid further damage or safety concerns.
Step 8: Commissioning
The final step in the installation process is commissioning. This involves filling the tank with water and testing the inlet and outlet pipes to ensure that the tank is functioning properly. It is important to monitor the water quality during this process to ensure that it meets the required standards.
Commissioning also involves verifying that the tank meets all local regulations and standards for safety and functionality. Any issues that are identified during this process should be addressed promptly to avoid compromising the safety or effectiveness of the tank.
Conclusion
The installation of a pressed steel water tank is a complex process that requires careful planning, preparation, and execution. Each step in the process is critical to ensuring that the tank is safe, functional, and long-lasting.
By following the manufacturer's instructions and local regulations, as well as working with an experienced and professional contractor, you can ensure that your pressed steel water tank is installed correctly and meets all necessary standards for safety and functionality. Proper installation and maintenance of the tank will ensure a reliable source of clean and safe water for years to come.


Great breakdown of the pressed steel water tank installation process! The step by step guide is super helpful, especially for ensuring everything from site preparation to testing is covered. If you're interested in optimizing not just your water storage solutions but also your energy management, you might want to check out the Techikara blog https://techikara.blogspot.com/